The battery box.
how the battery box was accurately restored
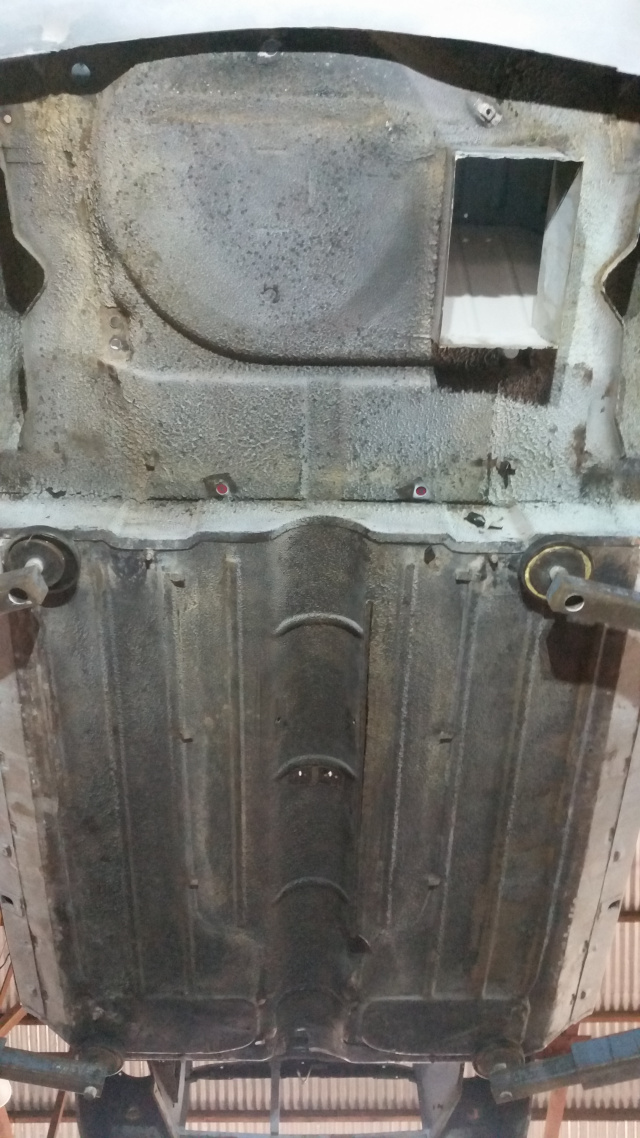
↑ The car's underneath, along with
the rest of the car, was remarkably rustfree, except for the base of the
battery box. This photo shows the cleaned underside with the base of the
battery box cut out. I resisted removing the whole box, as reproduction
boxes were all inaccurate in many details, and the original box and its
spot-welds to the body were otherwise in perfect condition. So I decided to
try my hand at fabricating an accurate replacement panel, complete with its
drainage / reinforcing rib and holes.

↑
First step was to fashion a female mold to press the panel into.
Measurements from the remains of the original base, and from a helpful
member of a specialist 850 Facebook group were carefully drawn onto an old,
hard, solid piece of hardwood. This shape was then carefully routed to the
5mm depth I measured on the original panel.

↑
Second step was the male mold. Rather than rout the male 'plug' from the
other piece of hardwood, I decided to fashion a plug separately, to the
right depth but allowing for the steel thickness as clearance. This could
then be simply glued to the other piece of hardwood, with chalk marks
showing the correct alignment of the two halves (see next pic).
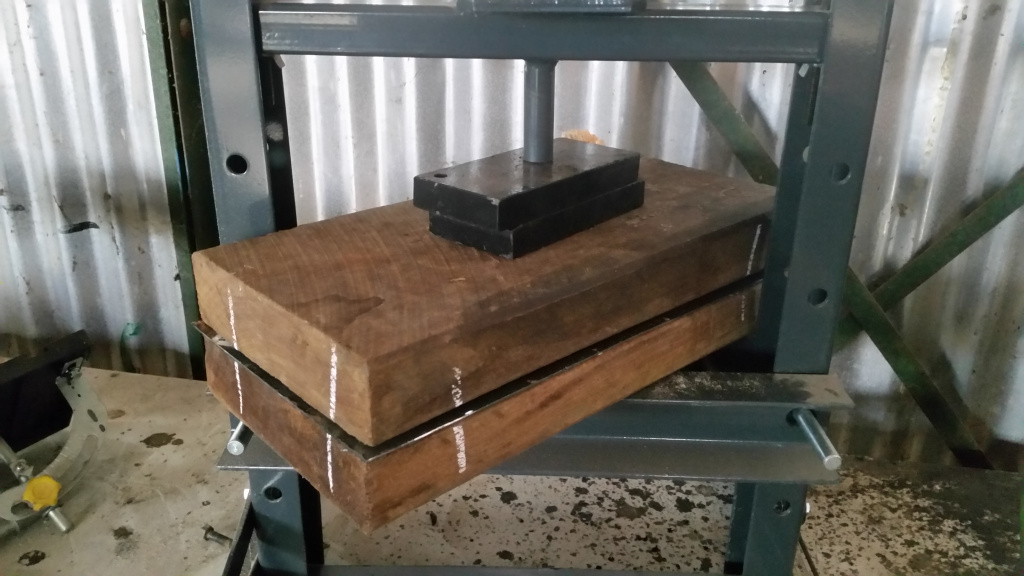
↑ Next
step was to form a 'sandwich' of the two mold halves and the steel panel (a
piece of scrap from a BBQ top cover that was exactly the same gauge as the
rest of the battery box). Note the chalk marks that enabled me to be sure
the male 'plug' was correctly aligned. This sandwich was then put into my 11
ton bench press, and tensioned up to maximum!
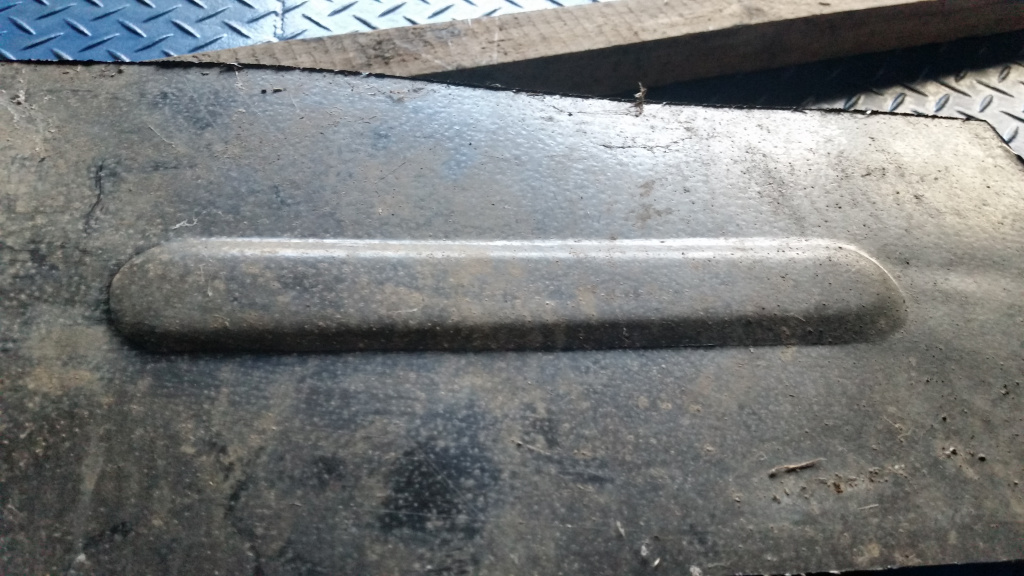
↑ The
result was absolutely perfect! This panel was then carefully measured,
marked, drilled and folded to be a perfect fit onto the box, complete with
folded ends as per original, with these ends drilled as per original spot
welds.
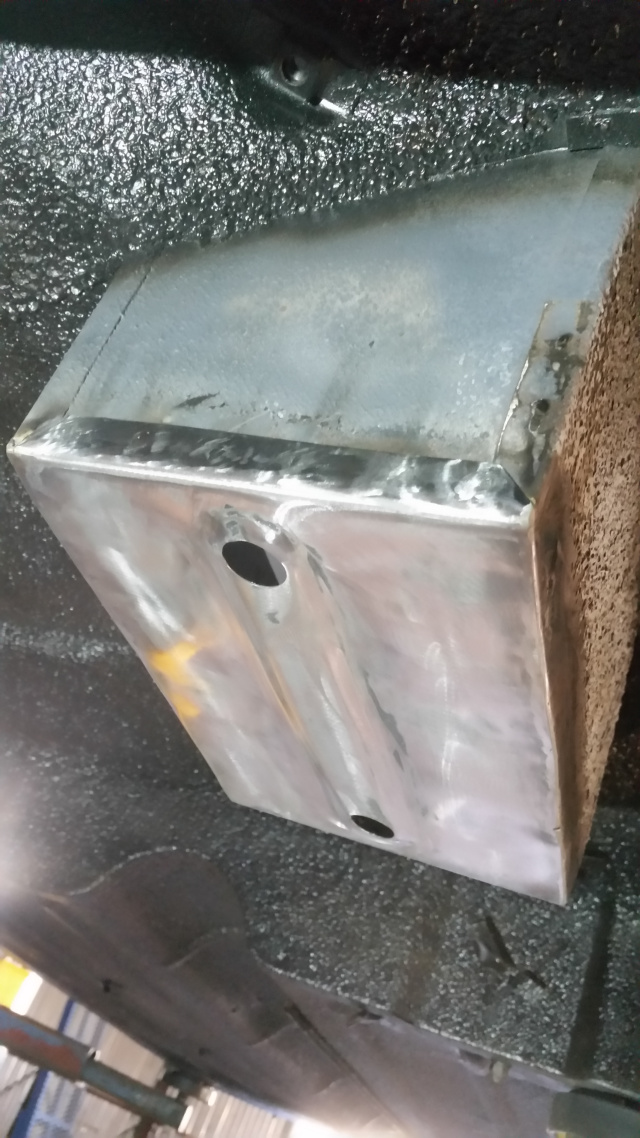
↑ The
long edges were MIG welded, while the folded ends were MIG welded in the
pre-drilled holes to replicate the original spot welds.

↑
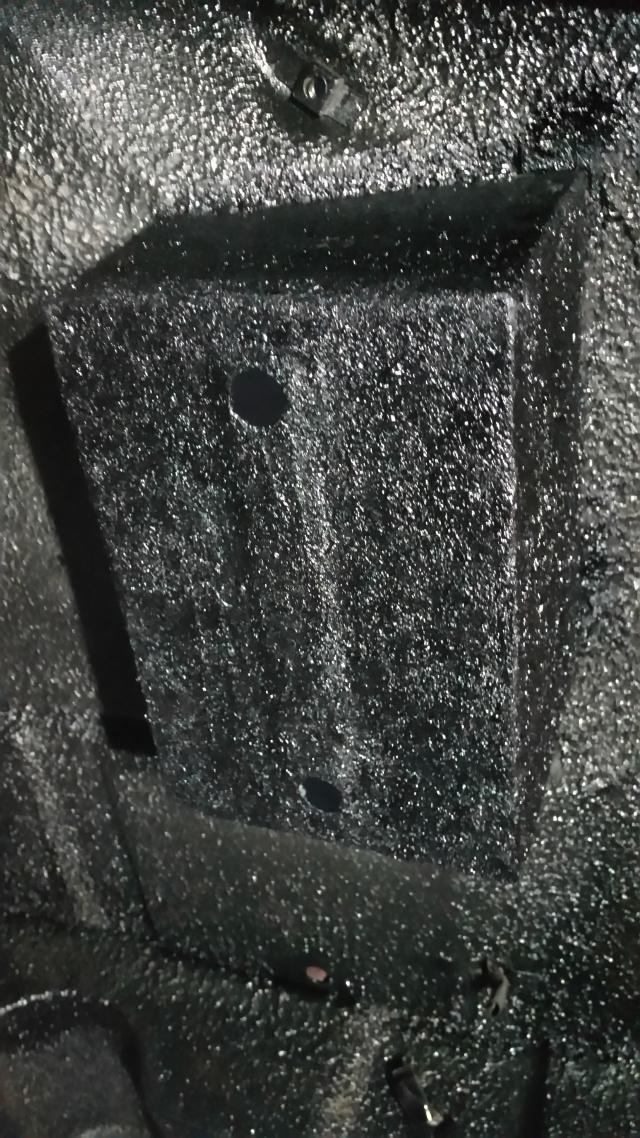
Second Here's the inside after welding, with Galmet painting and
hand-applied fibrous bitumen sealer as per original.
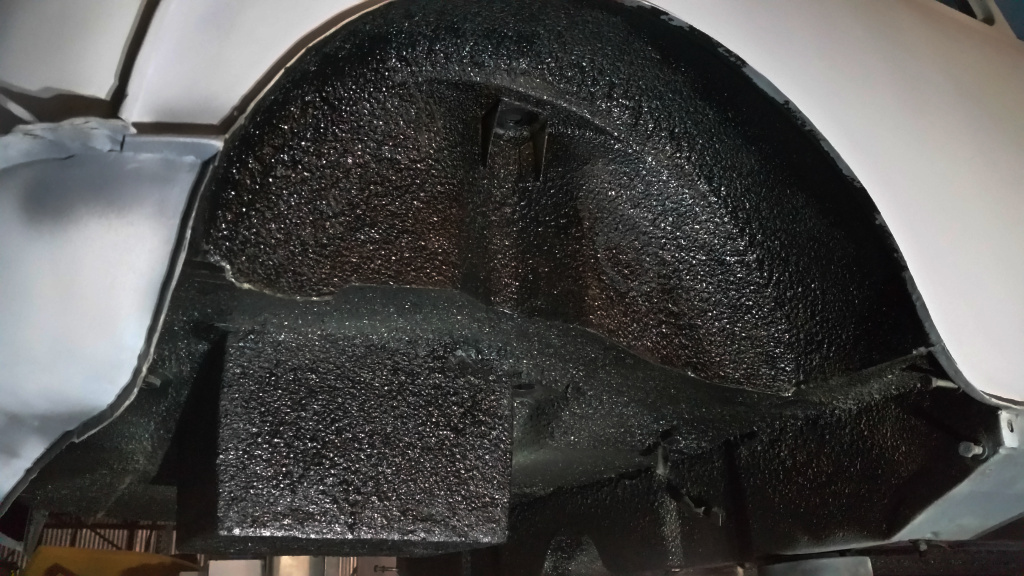
↑ Then
the exterior (also first coated with Galmet) had fibrous bitumen hand
applied to replicate the rest of the original underbody coating.
↑ Spot
on!.
I hope you have found this helpful!