1973 Bedford CF Dolphin campervan

Finally on the road again. December 2012. I and my partner Patricia have enjoyed this individual and amazing built-to-order Dolphin on a Bedford CF chassis before I decided on a 'quick' freshen. Many months of painstaking work later, 'Dolph' is ready for another 40 years on the road. Following are some photographs taken during the rebuild during 2012.
At first, Patricia and I simply enjoyed Dolph in its original form, after I had seen to a few urgent issues. The differential was extremely noisy and on its last legs, the 2-piece tailshaft was worn out, and some other items needed immediate attention to stop any further decline. These were attended to, as well as a period-correct (and rare) aluminium bullbar being sourced in Queensland. There were headaches, but I got there, and we really enjoyed Dolph. It was instantly part of the 'family'. Some photographs of our time with Dolph in its original form can be seen here.
However, while attending the 2011 Bay to Birdwood Classic, I inadvertently (and stupidly) gave the roof just one extra dent when misjudging the height of a tree branch. That led (after some cursing and self-flagellation) to the decision to replace the roof, something I had really wanted to do anyhow, due to the existing dents and the copious quantity of silicone sealer present on the roof panel joins, but probably would have never done if I hadn't had the extra impetus of my stupid mistake.
So, in time the roof panels came off. But in the process of trying to decide on 0.6mm standard caravan white-painted aluminium sheeting and 1mm unpainted aluminium sheet (which included asking various manufacturers of classic-style polished aluminium caravans worldwide for their recommendations), I started to develop a 'vision' for Dolph that I simply couldn't ignore. The removal of the roof also showed areas of previous damage (and varying degrees of repair workmanship) to the roof/wall junction, and closer inspection also showed oxidisation perforation in the original 'caravan profile' wall cladding.
With a huge intake of breath (and maybe a few red wines), the decision was taken to strip all the cladding off so I could appraise the situation. The resulting 'nudity' was both inspiring and scary (isn't it always). For a start, I realised for the first time the construction of the body was very traditional, indeed very English, and that the profiled exterior panels really were not needed as the body had solid marine-ply walls. Moreover, thorough checking of the existing plywood showed signs of softening (and a few instances of advanced rotting) mainly along leading edges of interfaces with windows, doors and other edges, showing the sealing had failed. Subsequent research revealed that this sealing failure is almost guaranteed when trying to seal a flat edge (such as a window, door, access hatch, panel edge etc) where it meets a profiled panel.
The full rebuild also gave me an opportunity to completely rethink the wiring and lighting, taking advantage of the things I had learned of the massive advances in LED lighting technology while building my dream shed recently. All 240V lighting was removed or converted to 12V LED, and I also installed a pair of delightful retro cone lights which I had converted to 12V fluorescent operation, as well as a discreet CD stereo using period-correct studio monitor EV speakers that sound absolutely fantastic. I also removed and completely redid the original Bedford wiring loom, including a reversing camera, sensor wipers and lights, extensive gauges, automatic dual-battery control, plug-in solar charging capability and a lot more into the basic wiring loom. All this was done with the aim of total originality in appearance, but with modern convenience and efficiency.
I like to think that it's a result that the Dolphin factory would have originally like to have achieved. While stripping the body I found a very special 'signature' that had been pencilled onto the plywood body sides just before skinning (and indeed just before delivery to the original owner) by 'Ted' on the 19 Feb 1974. That section of plywood now resides inside the gas bottle access door, very close to its original location.
The photographs taken in its original form can be seen here, while some photos of the restored vehicle can be seen here.
Enjoy!
the restoration
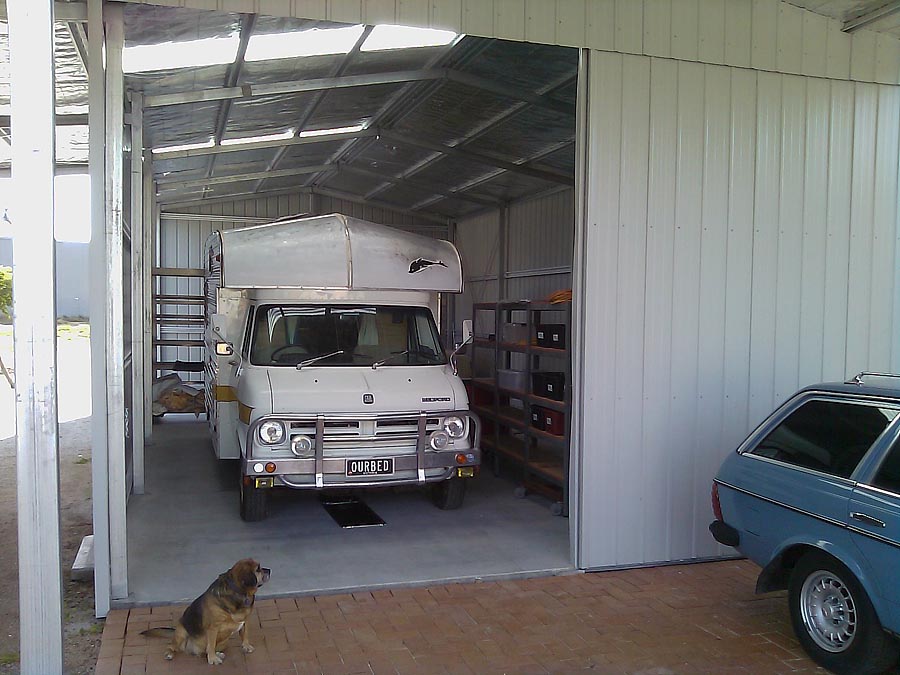
backed into the shed ready for some work. Leo the project manager looks on.

roof panels off - now I can see why Dolph is so warm in the cold and cool in the heat!
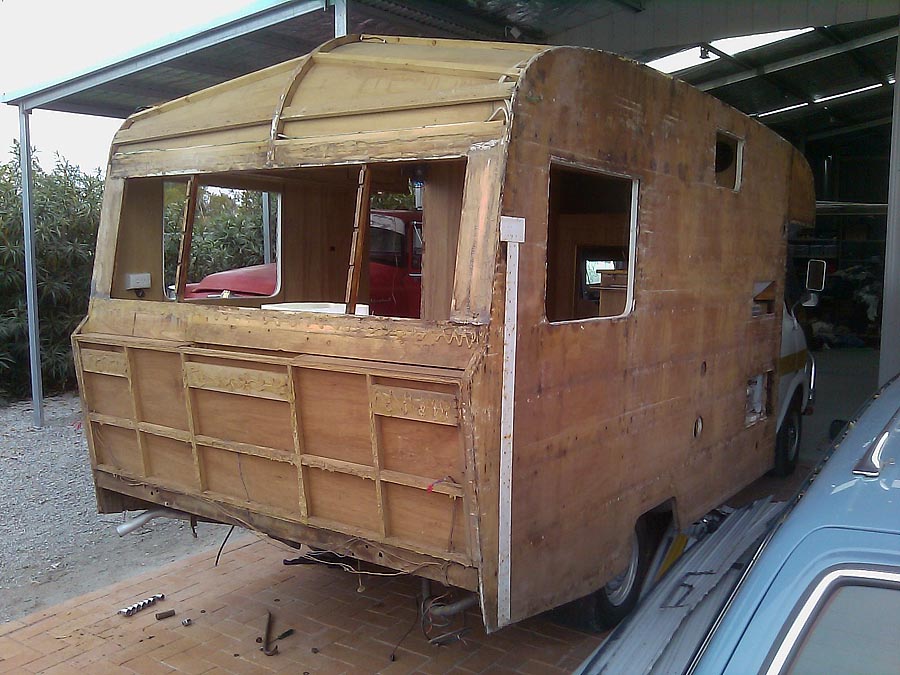
I wasn't going to replace the wall cladding, but I noticed tiny oxidisation holes, so off it came.
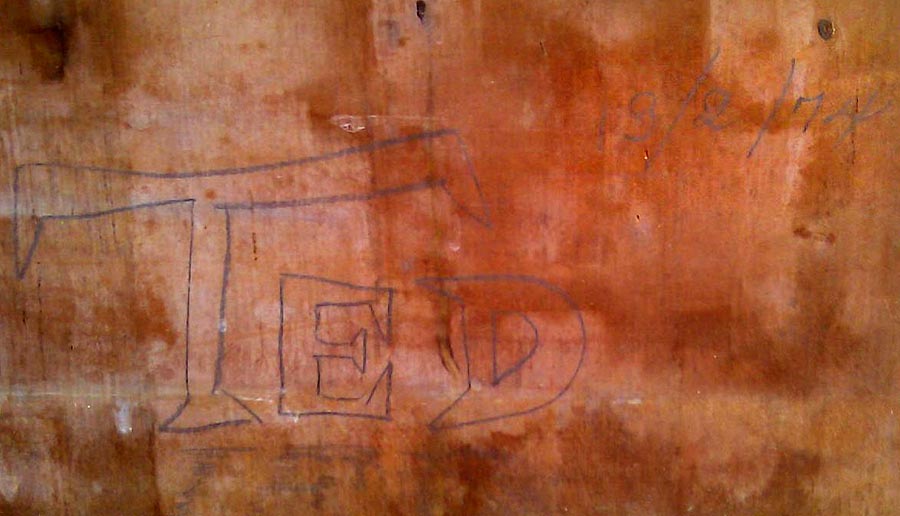
Signed by Ted from the Dolphin workshop just before the original cladding went on! 19 Feb 1974...Dolph's birthday!
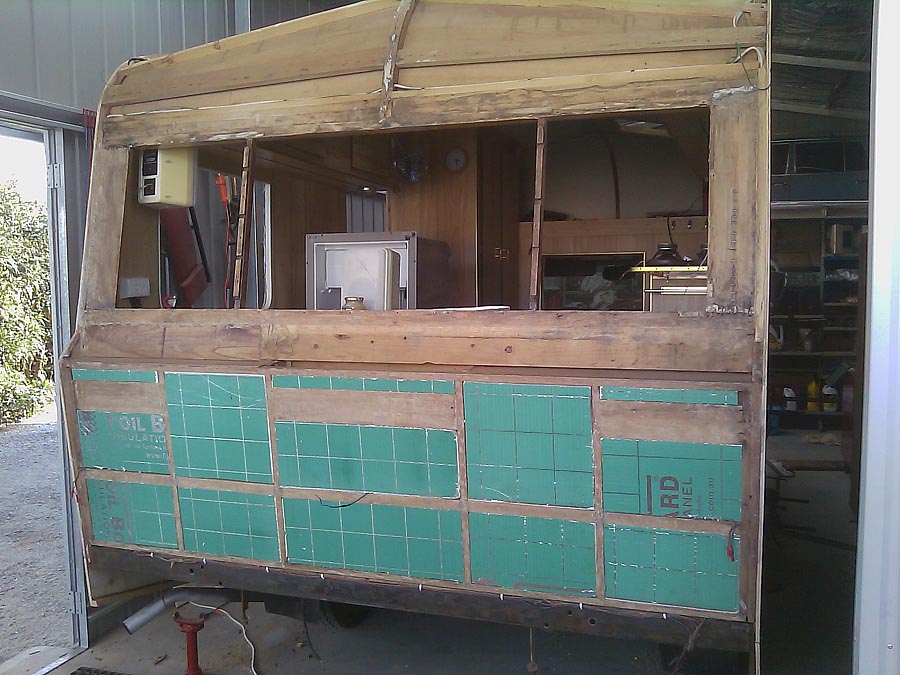
Originally the plywood exterior didn't extend to the rear - there was simply cladding attached to the framework. I decided to extend the plywood all the way for strength, and fitted foil/polystyrene insulation between the framework before covering it with marine ply
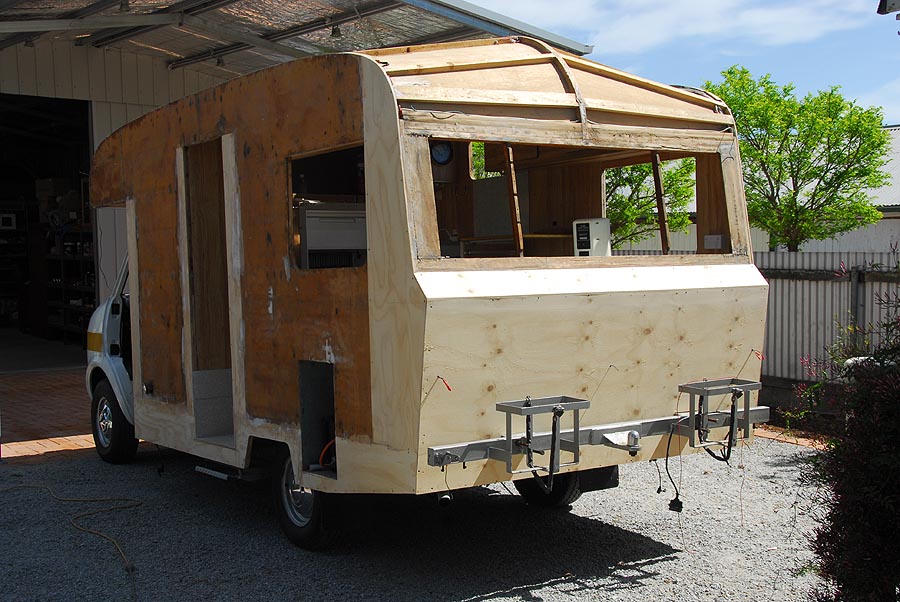
all suspect areas of the original marine ply exterior have been cut out, with some framework also replaced, using custom-cut treated pine to match the original framing timber dimensions.
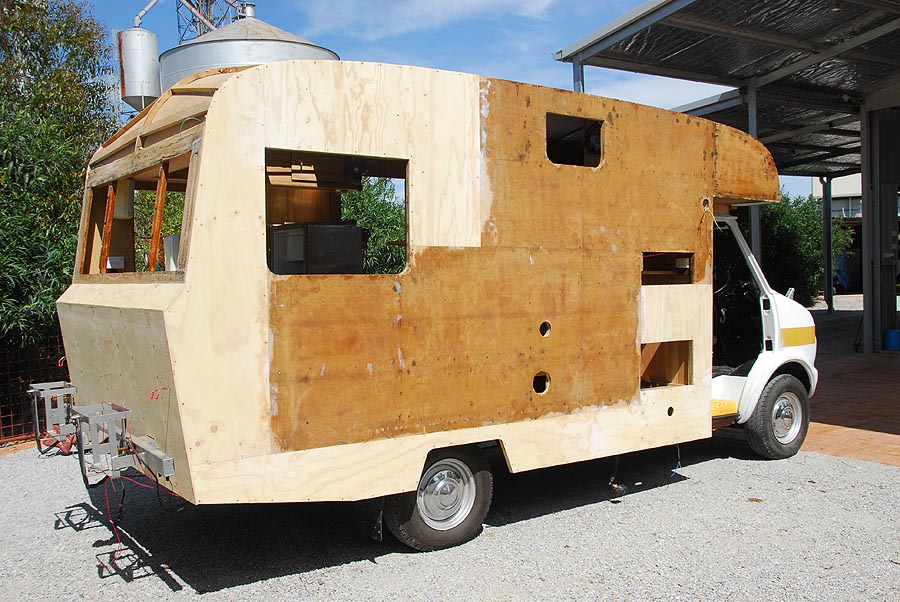
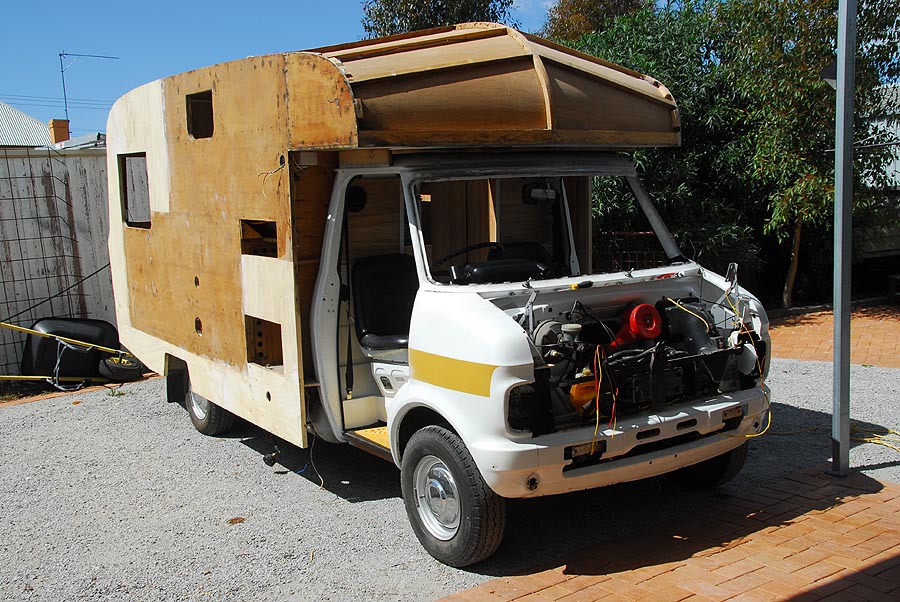
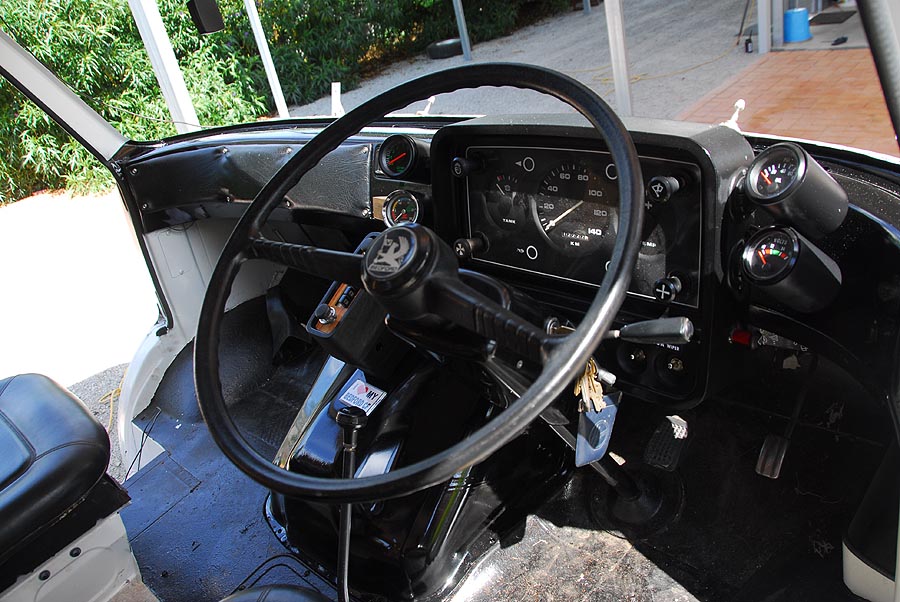
with all the work on the camper body I decided to also restore the cabin. I always do things the hard way. This turned into a major job in itself!
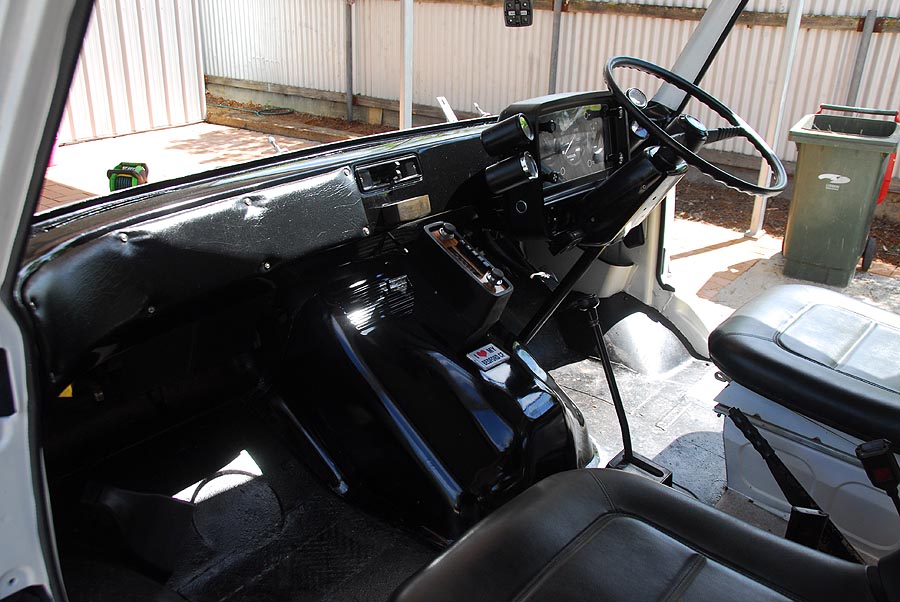
Interior repainted, new wiring loom throughout, including all wiring for dual fuel, additional guages, automatic battery isolator, sensor wipers, remote central locking, the lot.

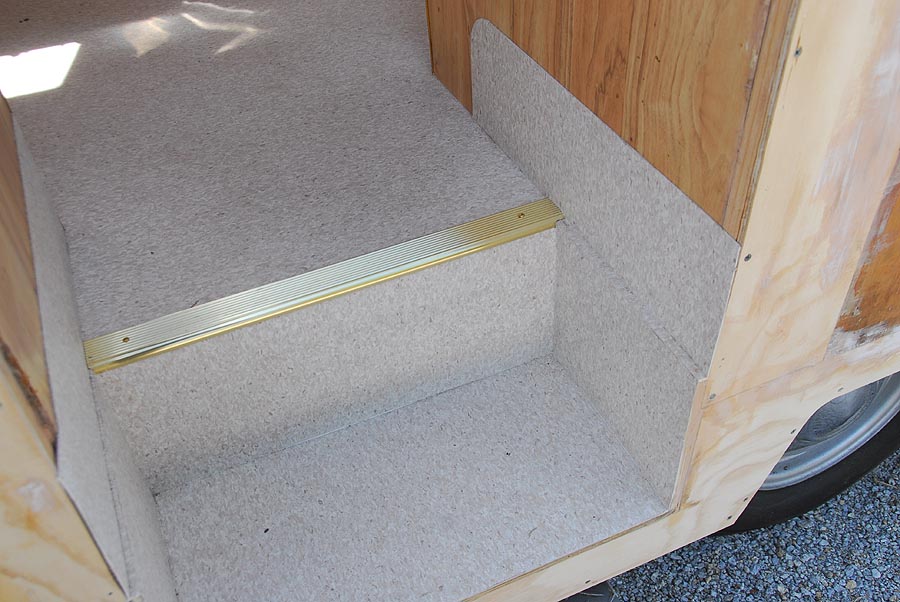
I also decided to replace the original floor covering. Removing the old covering took several days, using a heat gun and scraper to slowly lift the very-well glued original, which I only realised at the end of the job was full of asbestos. Rather than use easily fitted domestic vinyl, I elected to use commercial grade anti-slip vinyl, which is very thick, inflexible, and a bugger to work with in confined spaces! Eventually a perfect job was done, which will literally last for ever.
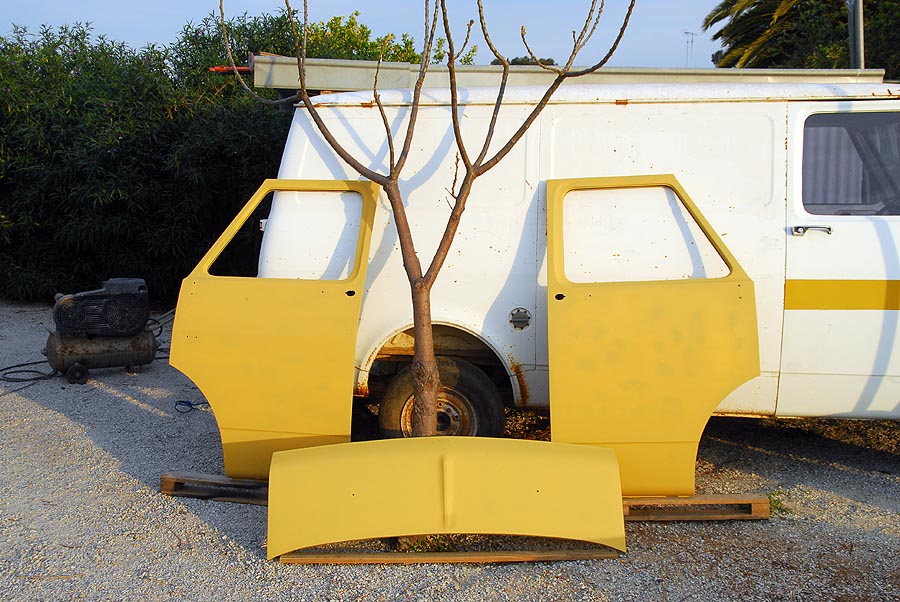
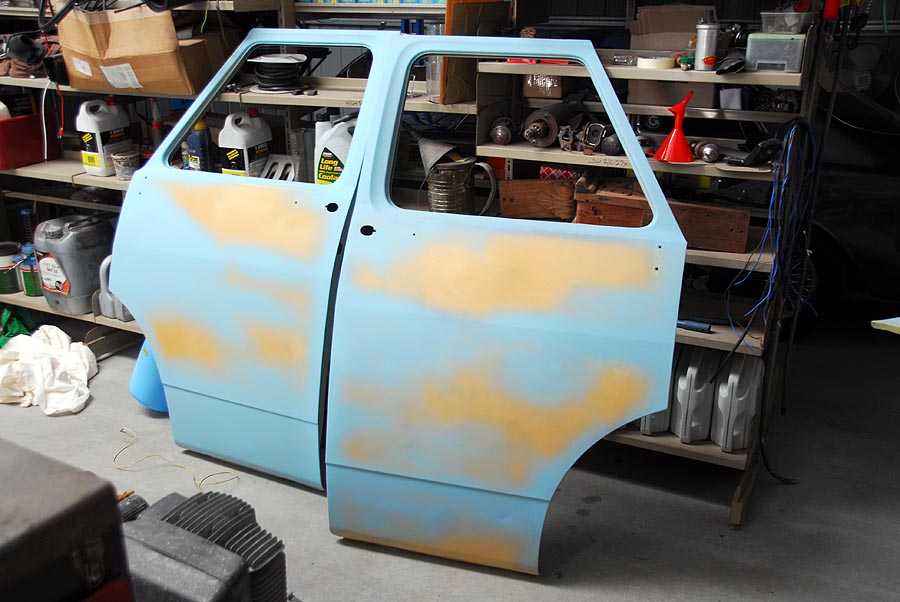
Original doors weren't bad, but a spare 1-owner, low-mileage Bedford I'd purchased for the differential was to provide completely rust-free doors, bonnet and grille. Here the panels are stripped and etch-primed and spray-puttied. The campervan doors can be seen on the spare Bedford.

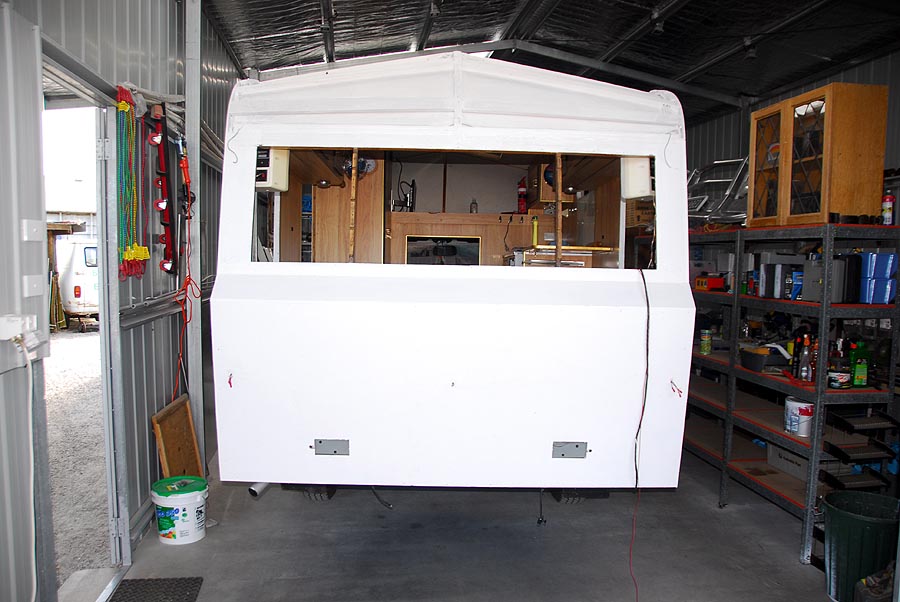
I also decided to seal the whole camper body exterior before refitting cladding. Several thick coats were applied by roller and brush, allowing it to flow into gaps to seal any potential water entry points.
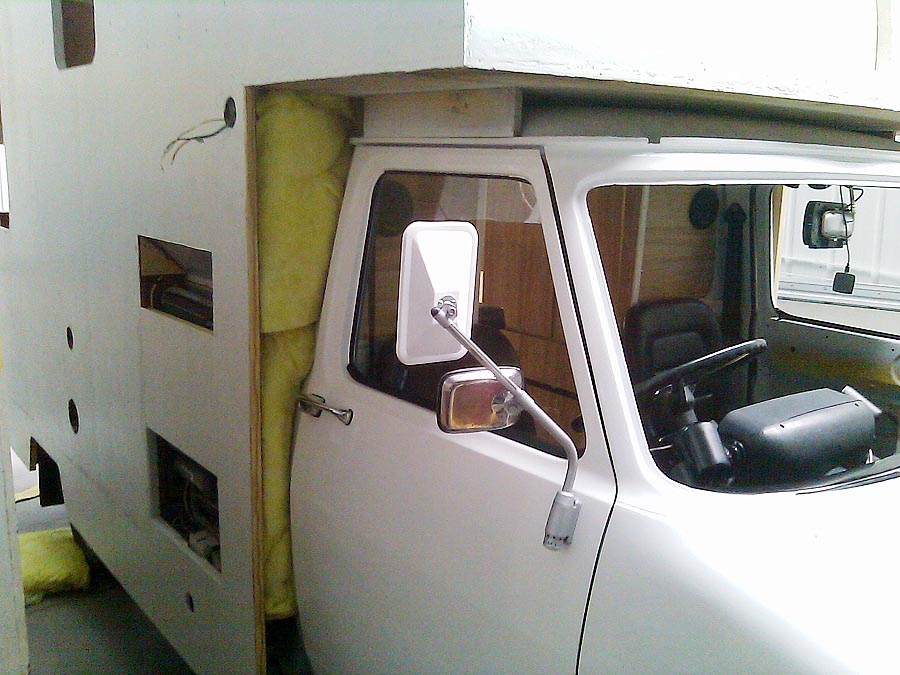
The cabin/camper body interface was originally an empty void which resonated with road noise, and only had 0.6mm cladding covering it. I decided to pack the void with fibreglass to dampen noise, and then cover the surface with marine ply (sealed/bonded with Sikaflex 252) before cladding it.
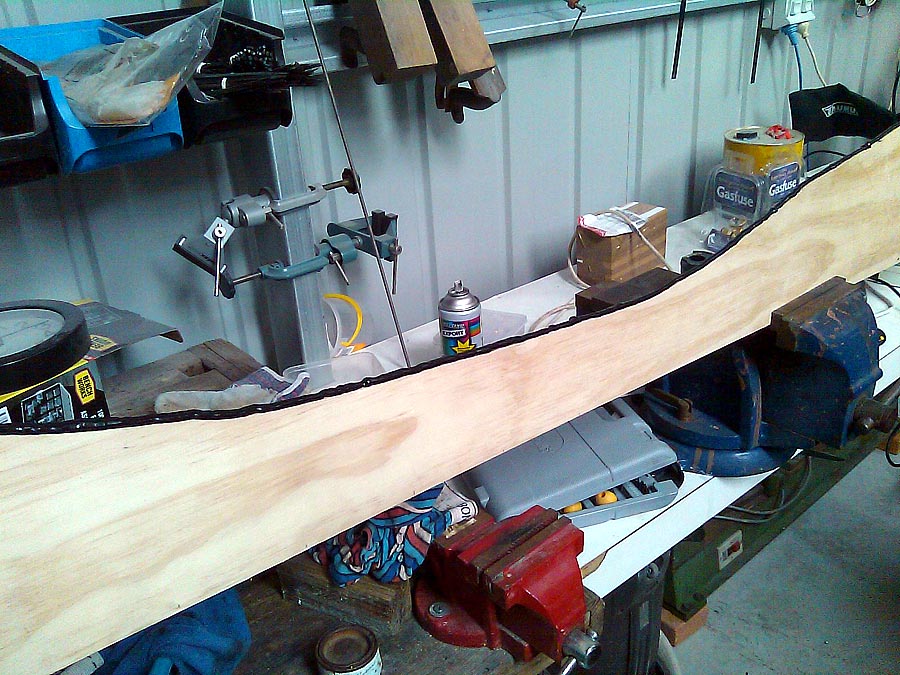
Sikaflex 252 to bond and seal the edge to the cabin
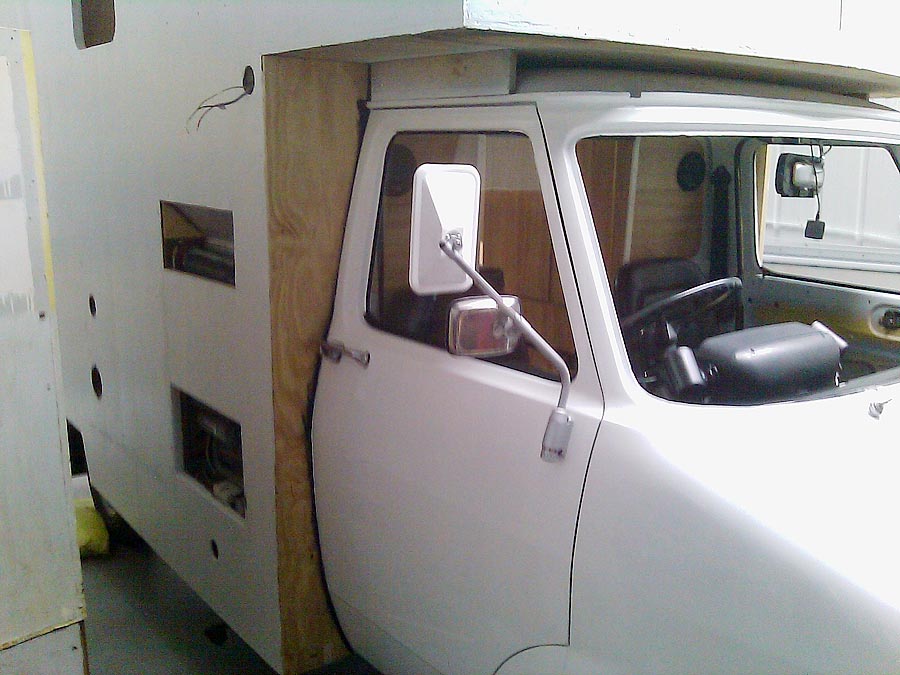
In place - sealed perfectly.
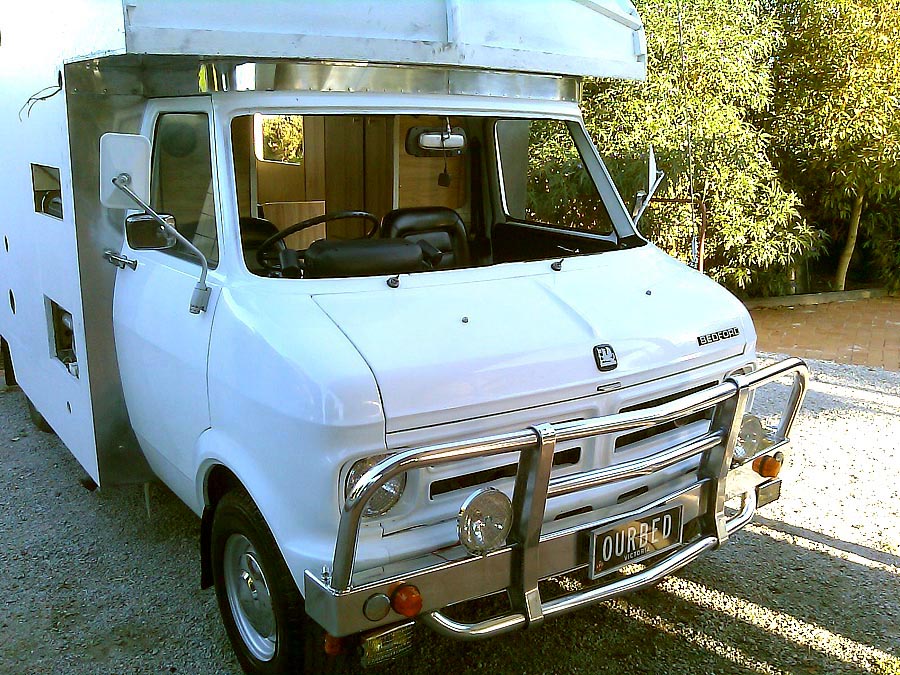
The whole exterior will be clad with 1mm aluminium sheet, which I will polish. The first part of the job was very intricate - the cabin/camper interface.
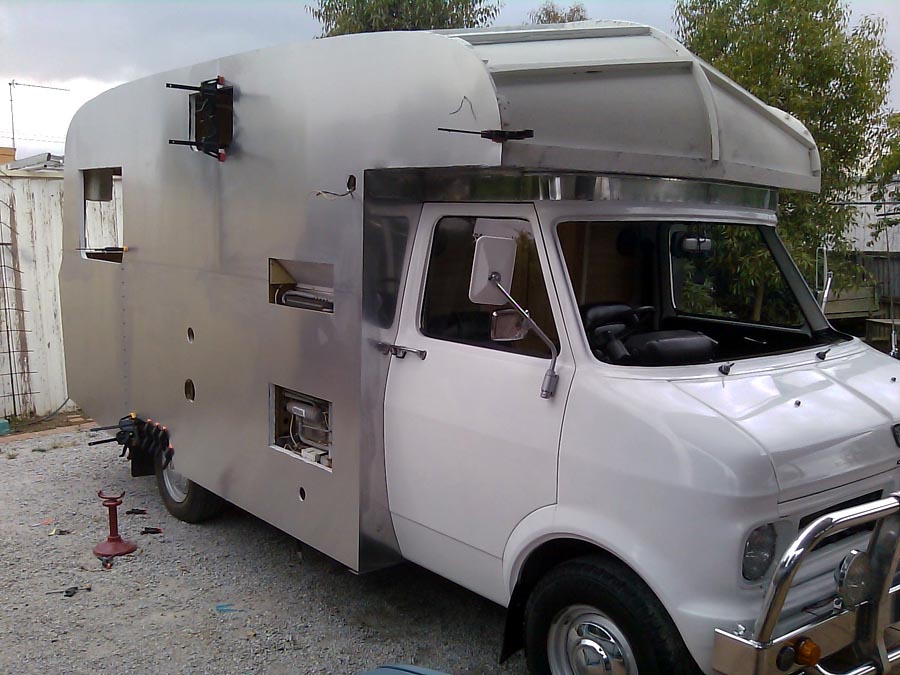
Right hand side panels cut and attached initally with Sikaflex - these will eventually be screwed and rivetted. The screws are special yachting square-drive stainless steel screws which will replicate rivets visually.
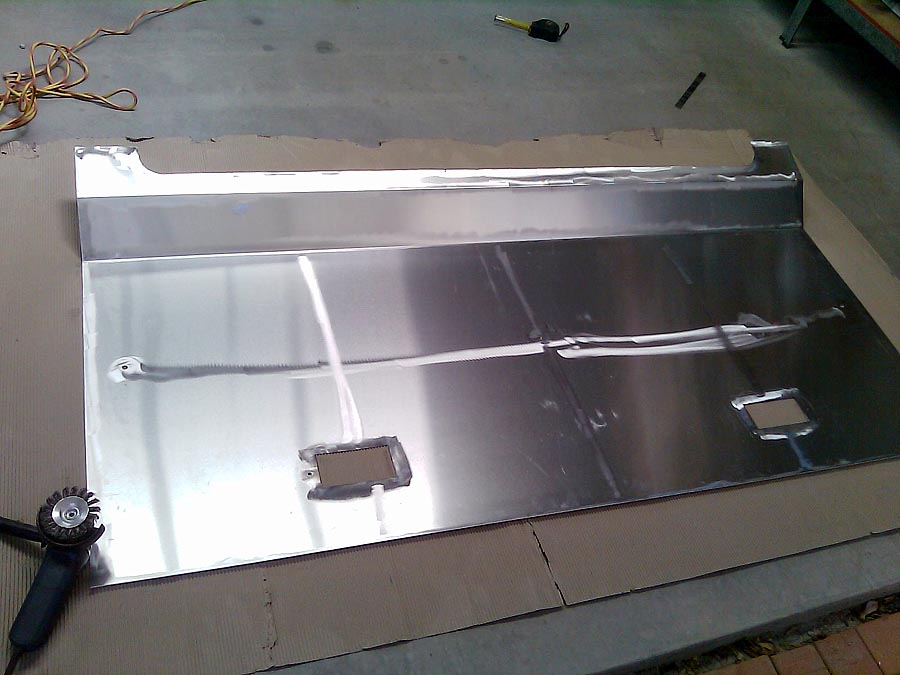
The crucial rear panel finally folded and cut accurately. All panels were roughened and de-oxidised with the wire brush angle grinder attachment moments before applying Sikaflex.

Fitted like a glove!
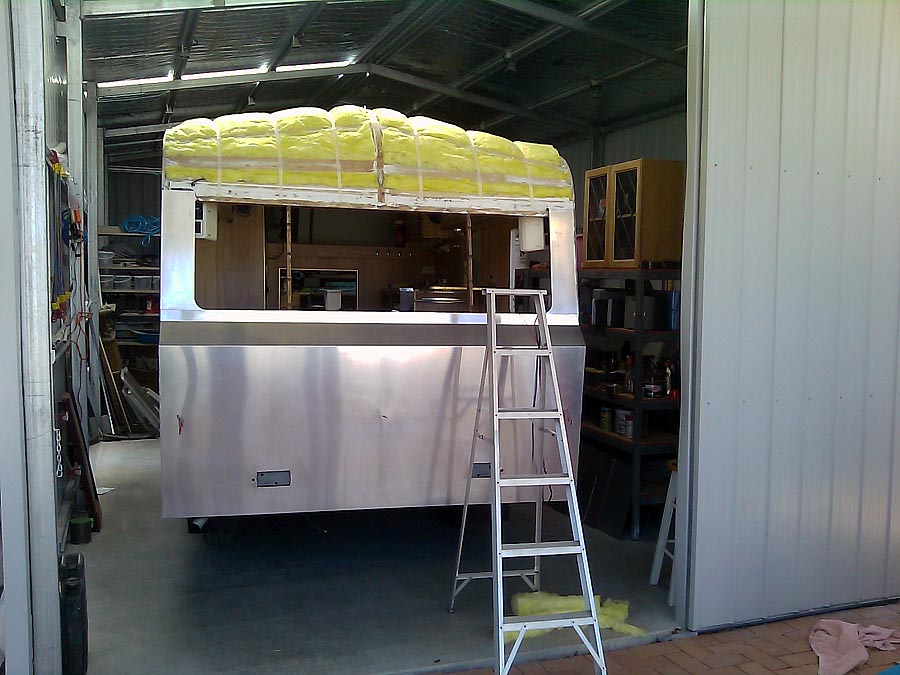
In goes the roof insulation before the roof panels go on.
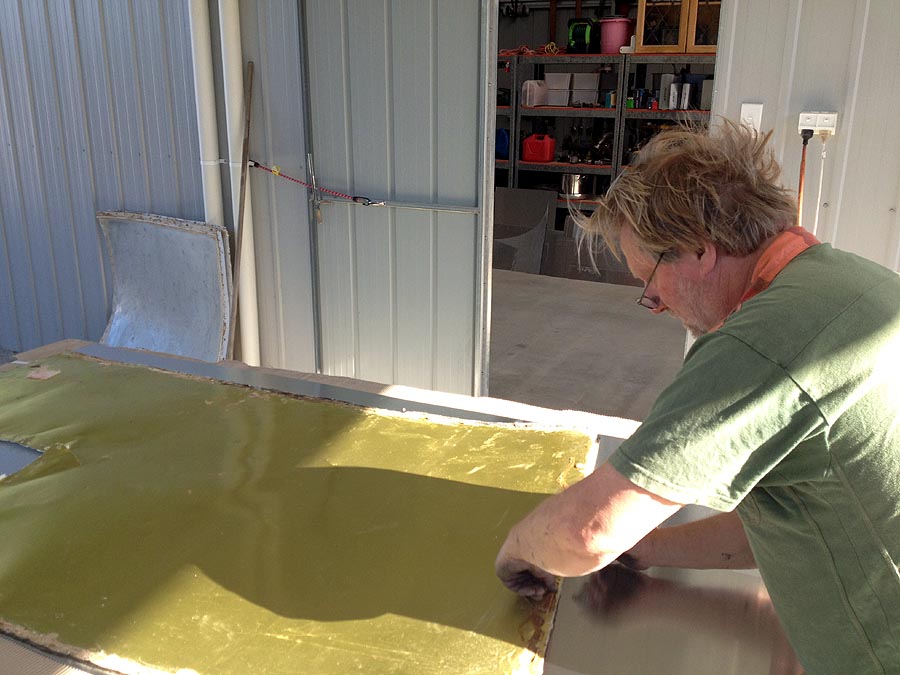
using the original roof panels to mark dimensions on the new sheets of aluminium before cutting
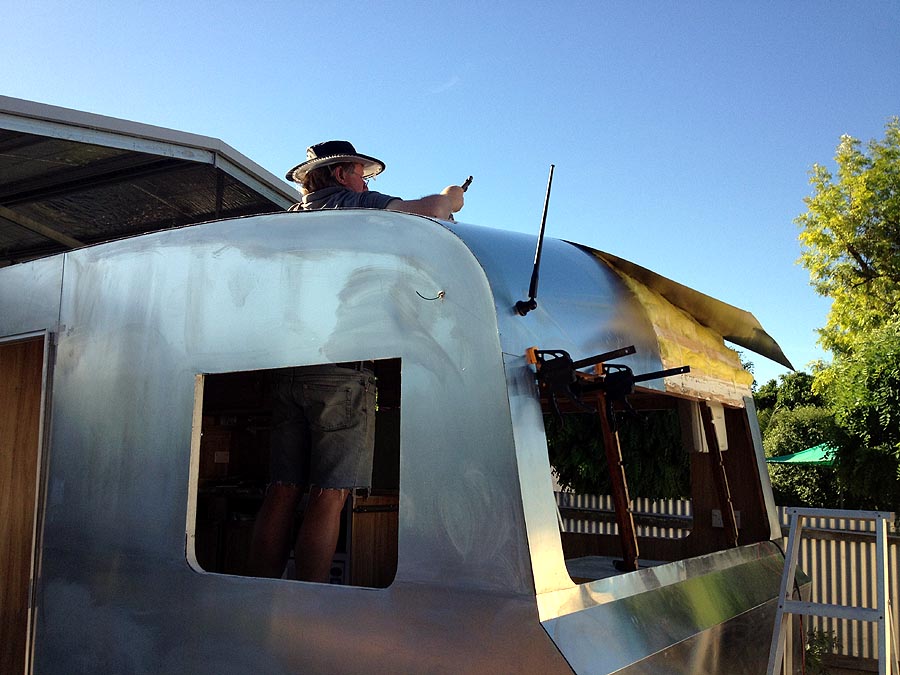
lots of Sikaflex 252 on all wooden framework edges and spars, clamps to hold things in position as I go, and carefully-applied small stainless steel nails to initially attach panels before the edge and centre aluminium trims are screwed into place.

The first two (rear) panels in place. There are 6 panels in all, overlapped correctly for the direction of travel (and with generous overlaps with several lines of mastic).

My son David helps with the roof panels. This was the only part of the job I knew I could not do alone - the curved panels are a very crucial and difficult fit, and require a lot of pressure when using 1mm sheet.
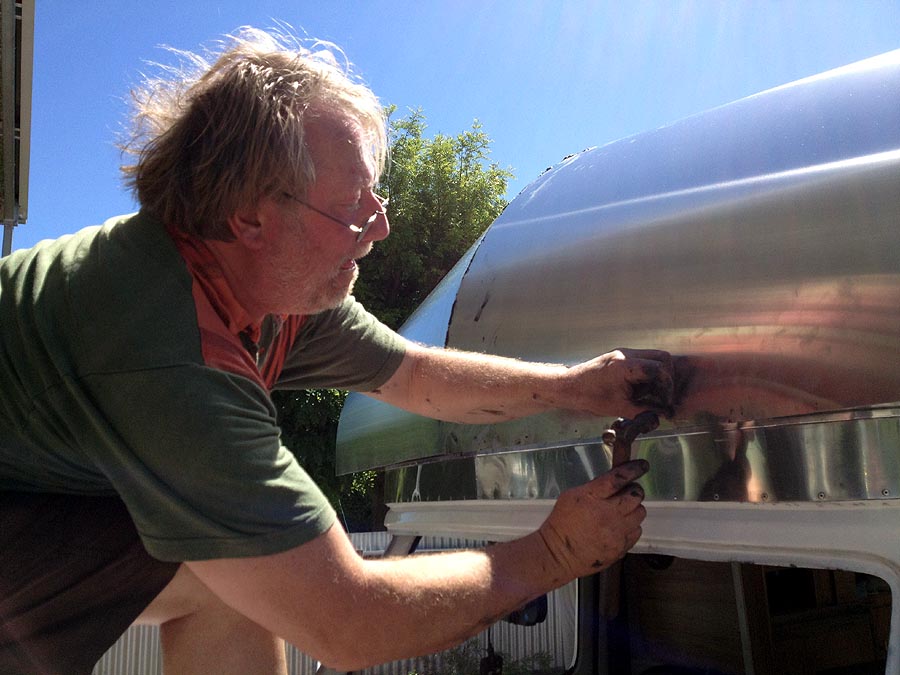
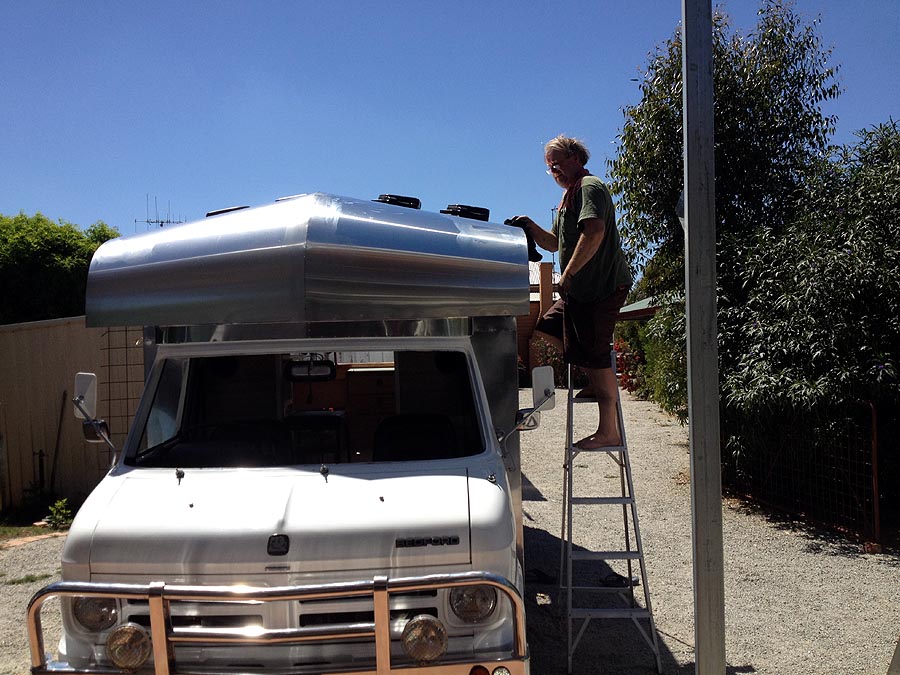
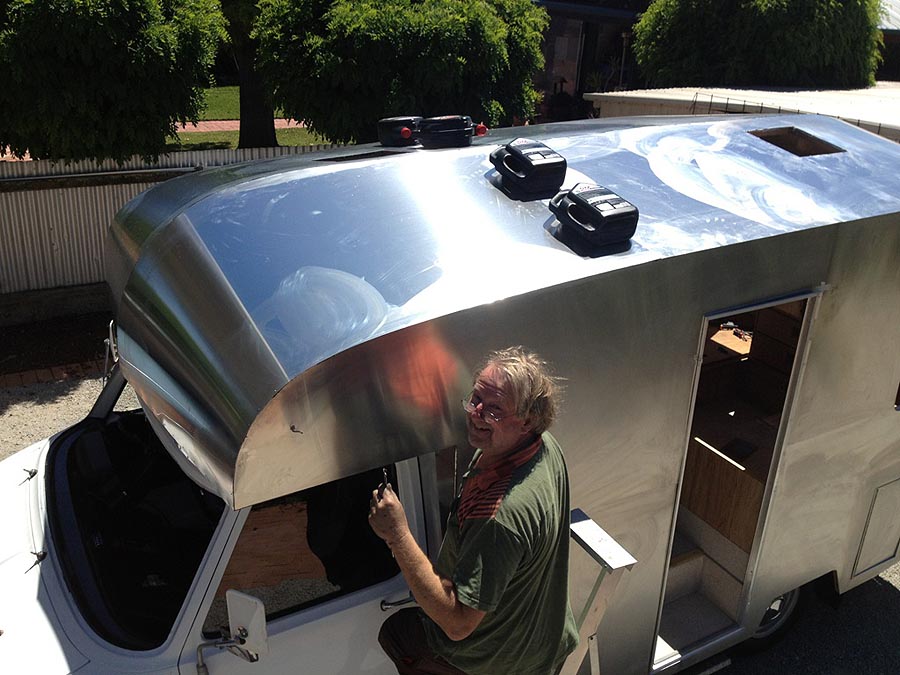
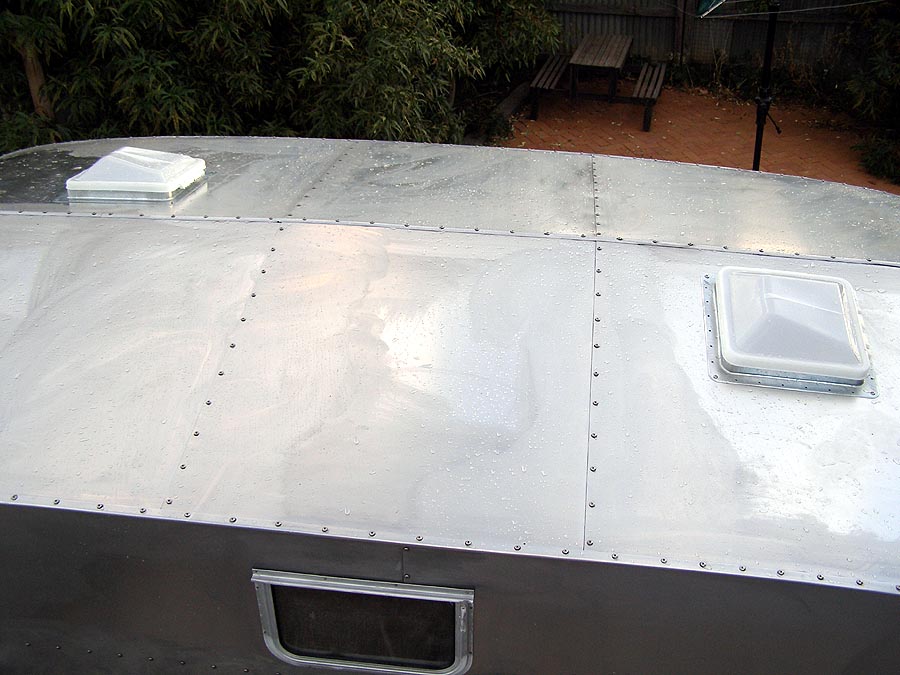
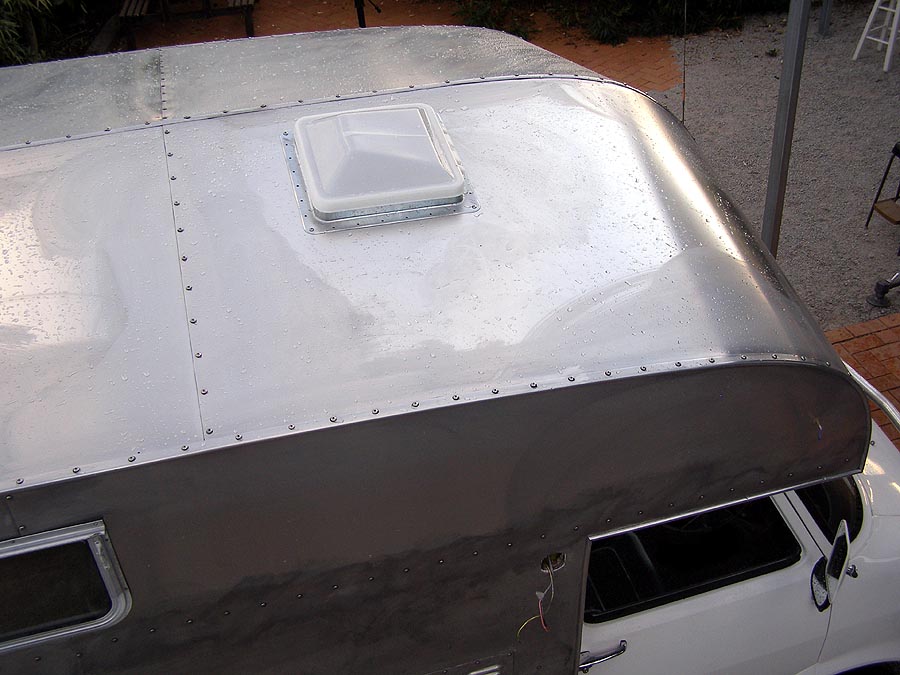
All roof panels on, and here I am removing the excess Sikaflex which oozed out from the edges. I didn't cut corners either with the quality or quantity of sealers used in assembly! This body will never leak, of that I am sure.

Windscreen back in at last. Cabin gleaming in its new paint inside and out, aluminium bullbar painstakingly polished.
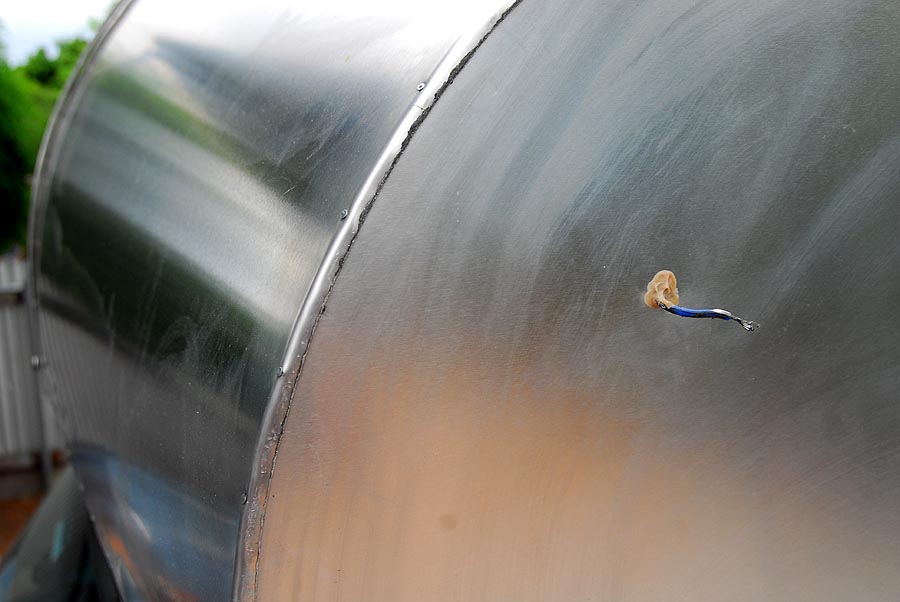
careful marking, cutting and fitting of roof panels resulted in perfect overlap! I carefully hammered the edges over the wall junction before fitting edge trim.
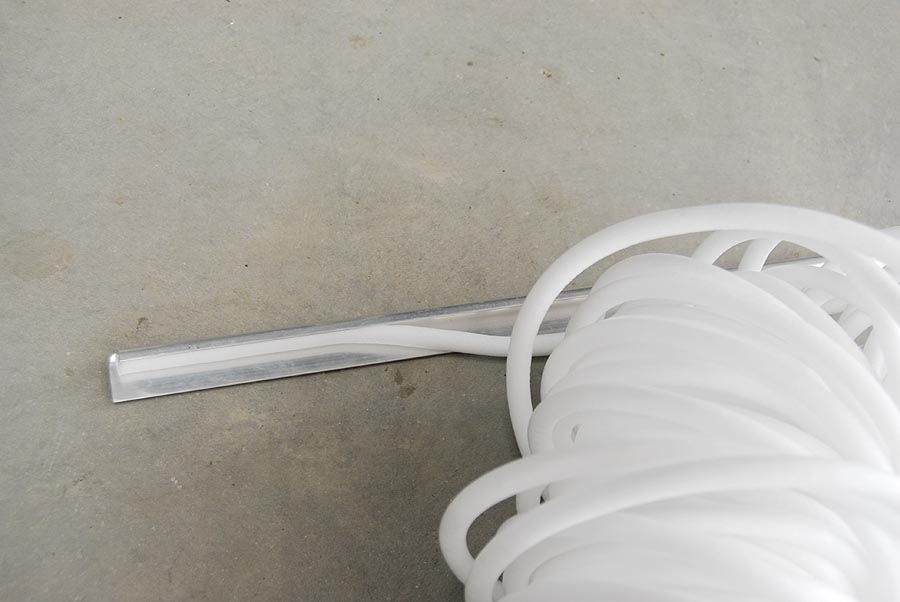
Here's a technique I invented for edge trimming. J-mold will look fantastic, and I use 10mm polyethylene closed-cell foam backer rod as used in building construction to provide permanent flexible seal.

The J-mold being fitted. Foam backer rod is pre-inserted into the 'J', holes accurately pre-drilled, and flexible mastic generously applied to the underneath, including around each screw hole. Stainless yachting screws fitted using nylon washers I eventually found in the UK.
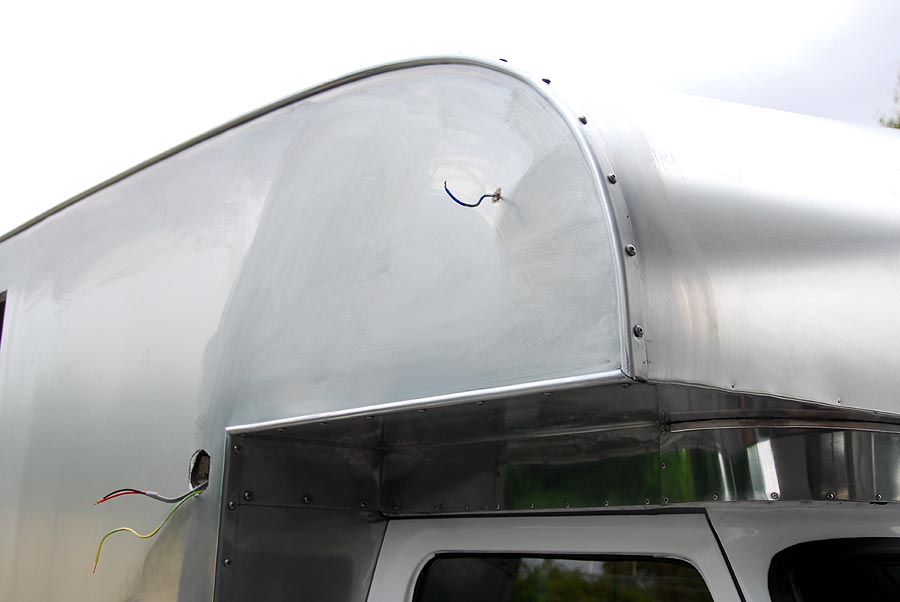
Just the look I was after, with nothing to hide! This will look great when all finished and polished!
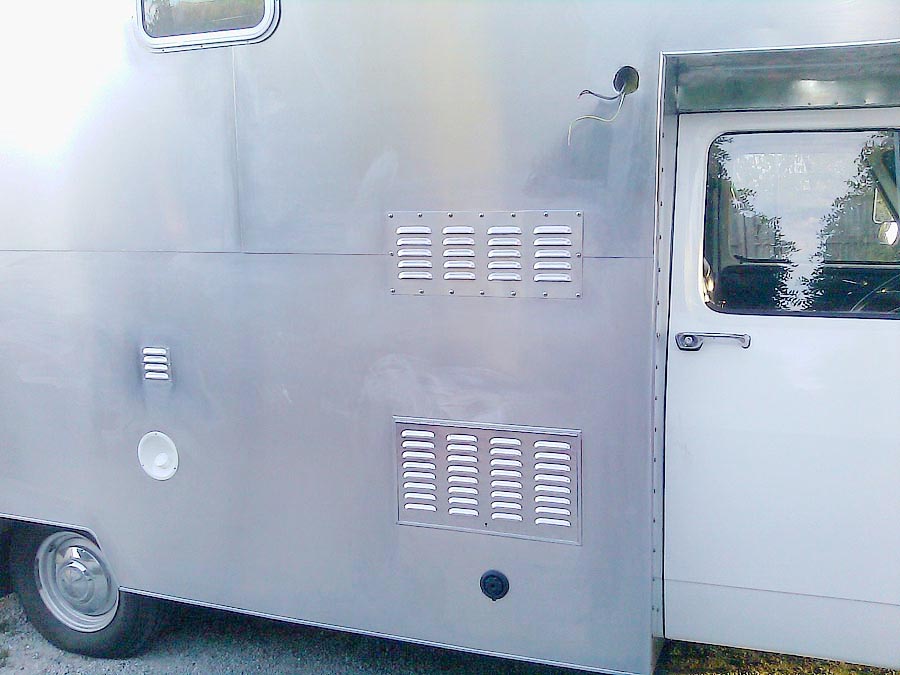
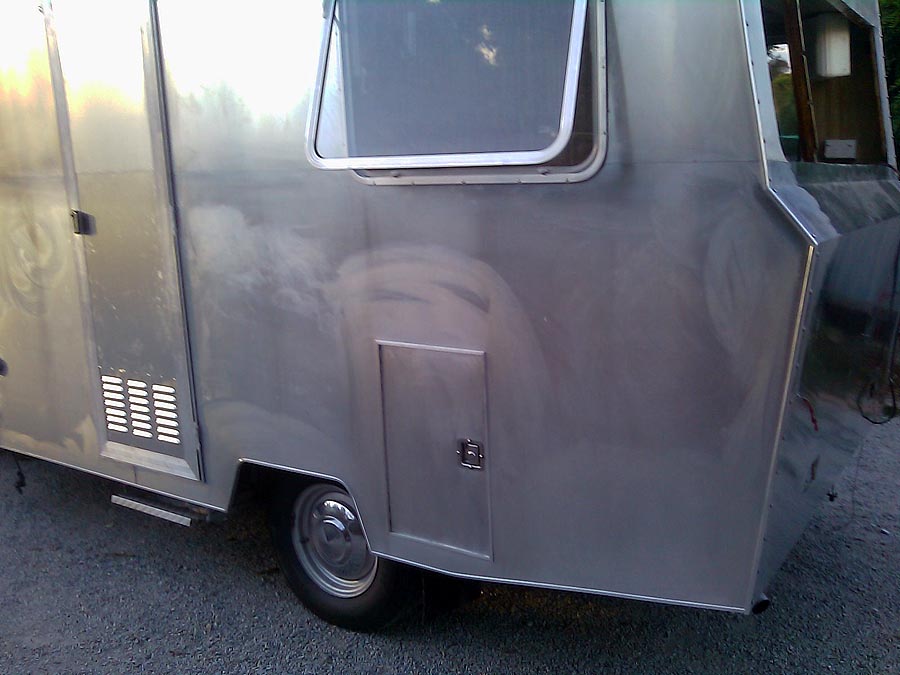

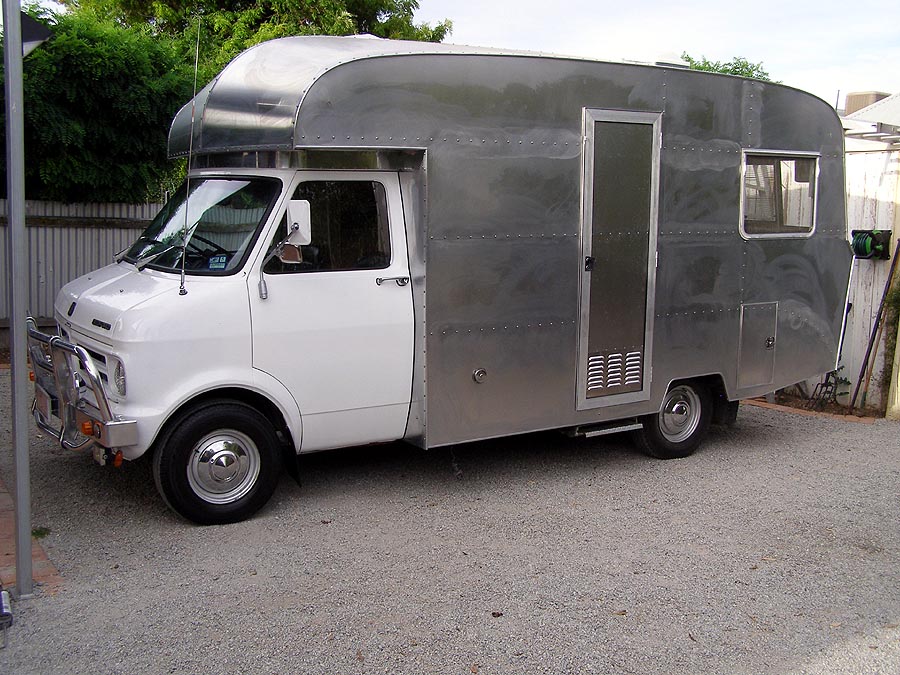

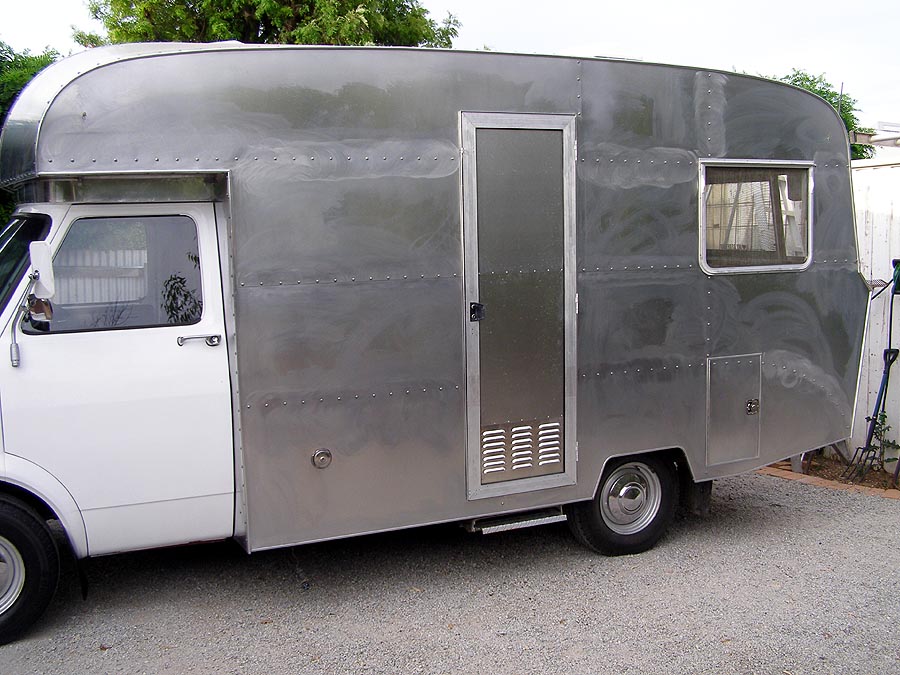


The photographs taken in its original form can be seen here, while some photos of the restored vehicle can be seen here.